
This is an excerpt from my upcoming Raiden: Metal Gear Rising cosplay tutorial. Although this material is specific to Raiden, the basic knowledge can be used to freehand patterns for any armor or prop. I feel that patterning is so important that it warranted it’s own post.
—
I would say patterning is the most important step of making a costume or prop. With sub-par patterns, the end result will not look too great. There are times where I re-did my patterns multiple times till I felt okay with the piece. Looking at my completed Raiden now, there are still pieces I would like to re-pattern and re-make but I felt it was good enough for a first shot.
Materials I used for this step (Paid links):
- Plenty of reference photos (I just google images and download whatever I can find)
- Ruler
 or sewing tape measure
 - Card Stock – 110 lb
- X-ACTO Knife
- Self Healing Cutting Mat
- Scotch Tape
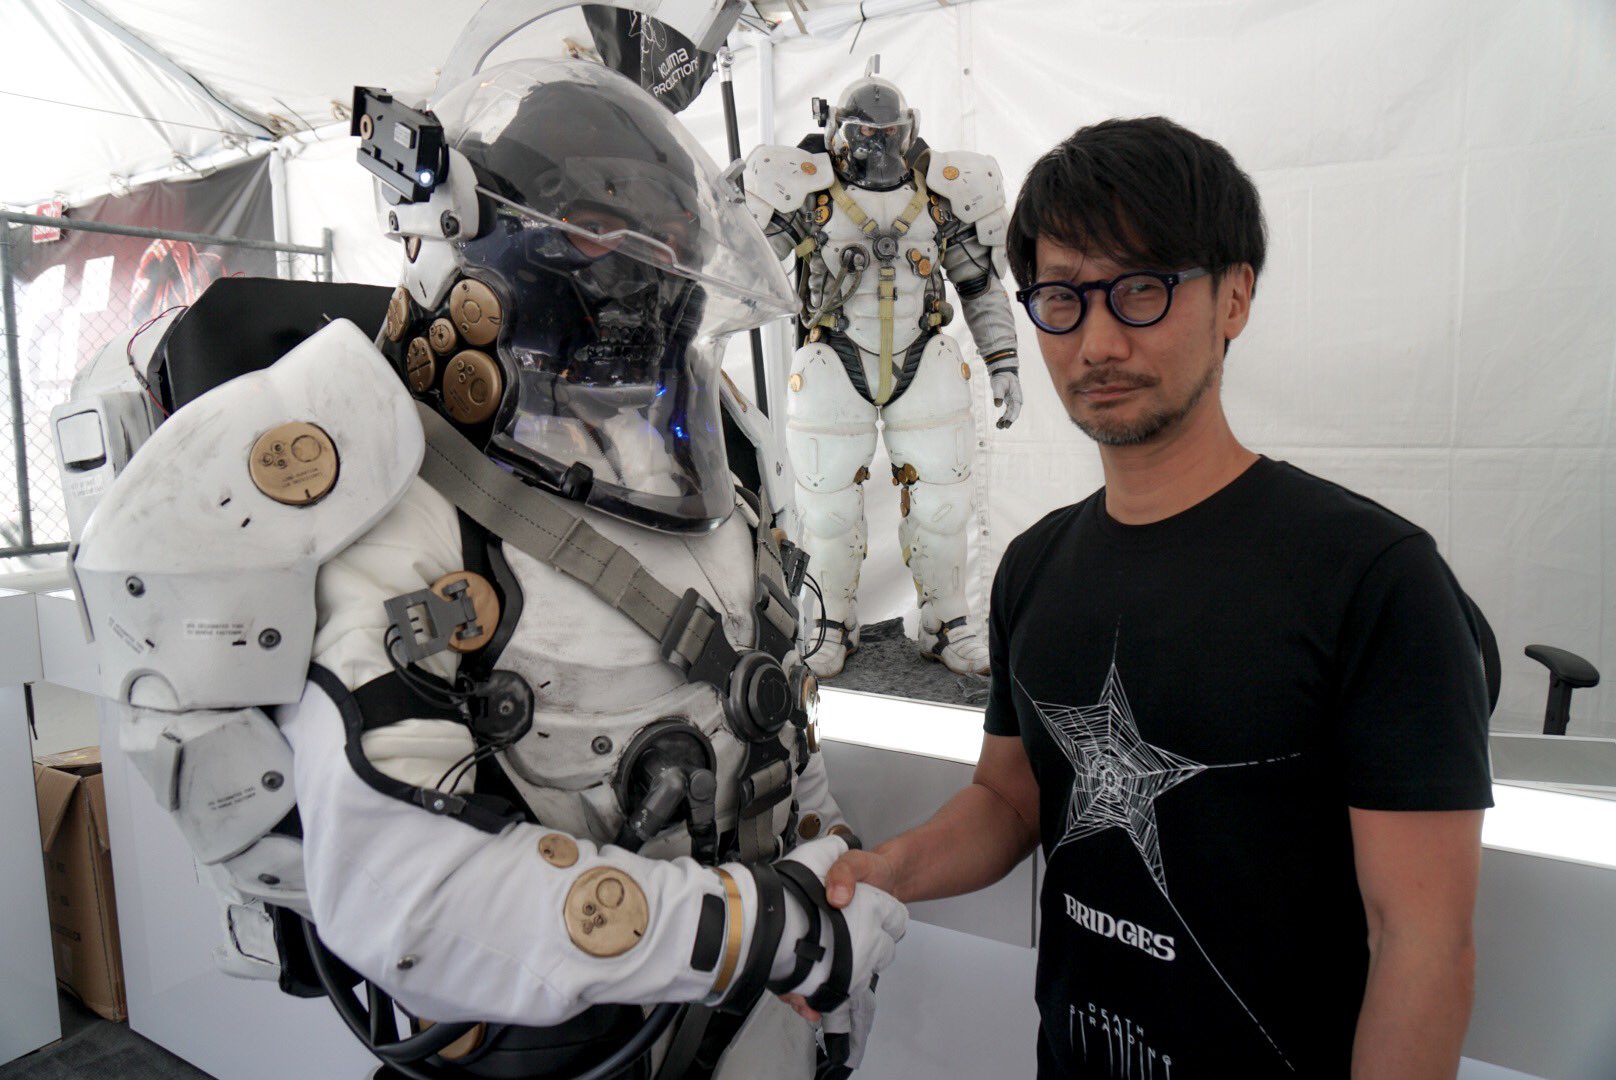
1) I downloaded multiple photos online of Raiden in attempt to get every angle of his costume to make.
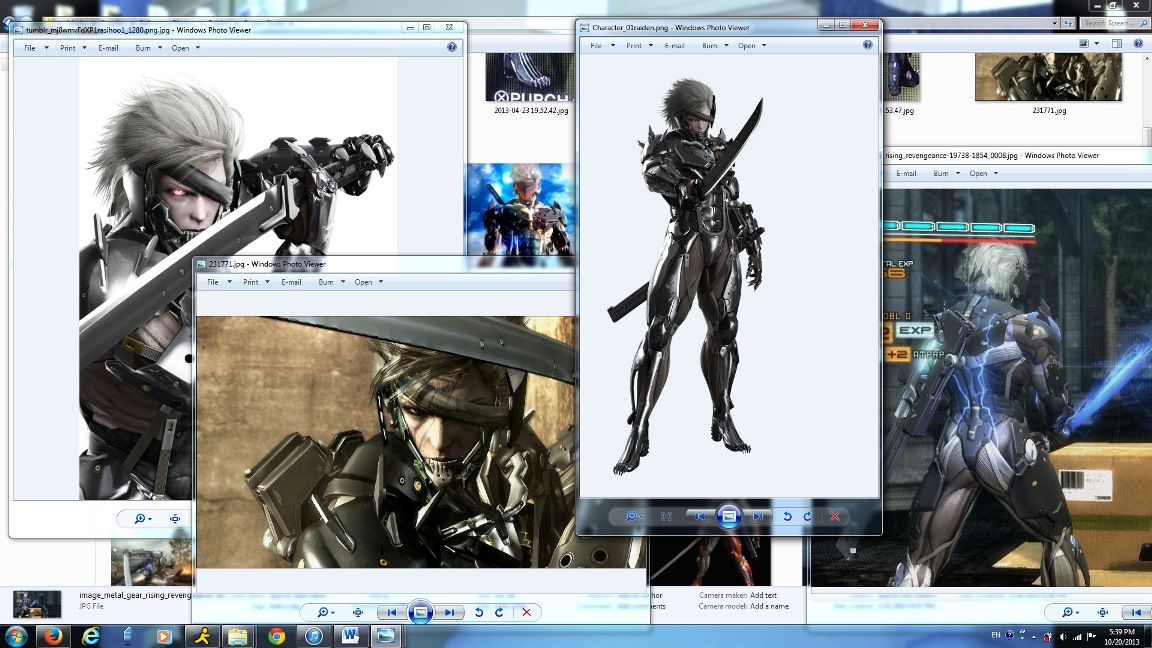
Raiden Reference Photos
2) I would then choose a piece that I wanted to make and then envisioned how many pieces I would need to make the part.
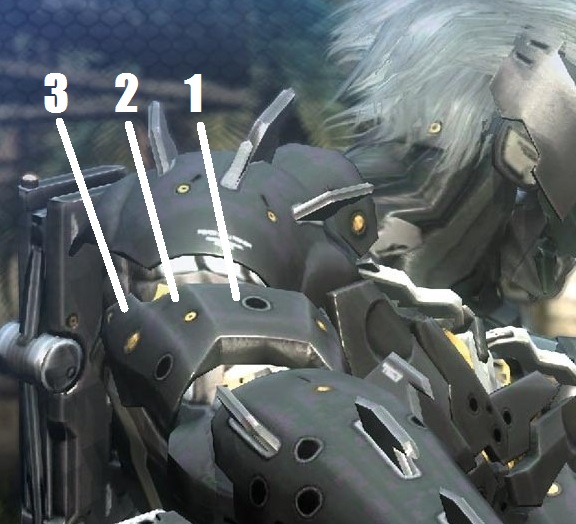
For example, the bicep looks like it can be split into 3 main sections:
- center
- upper left side
- lower left side
Since this piece is symmetrical, I would just need to pattern the center and left side (then flip it over to use as the right side)
3) In order to scale my pieces properly in real life, I would measure the total height of Raiden on the photo, take measurements (in centimeters) of the part I wanted to make, then use a simple formula with my height to get the approximate scale for real life.


Example: Bicep_center_length = (My_Height (in cm) x Raiden_Photo_Height)/(Raiden_bicep center_length)
Bicep_center_width = (My_Height x Raiden_Photo_Height)/(Raiden_bicep center_width)
4) Once I had a width/height estimate of each section of the piece, I drew a box with those dimensions on cardstock. If the cardstock was too small, I taped sheets together with scotch tape to make a bigger sheet.
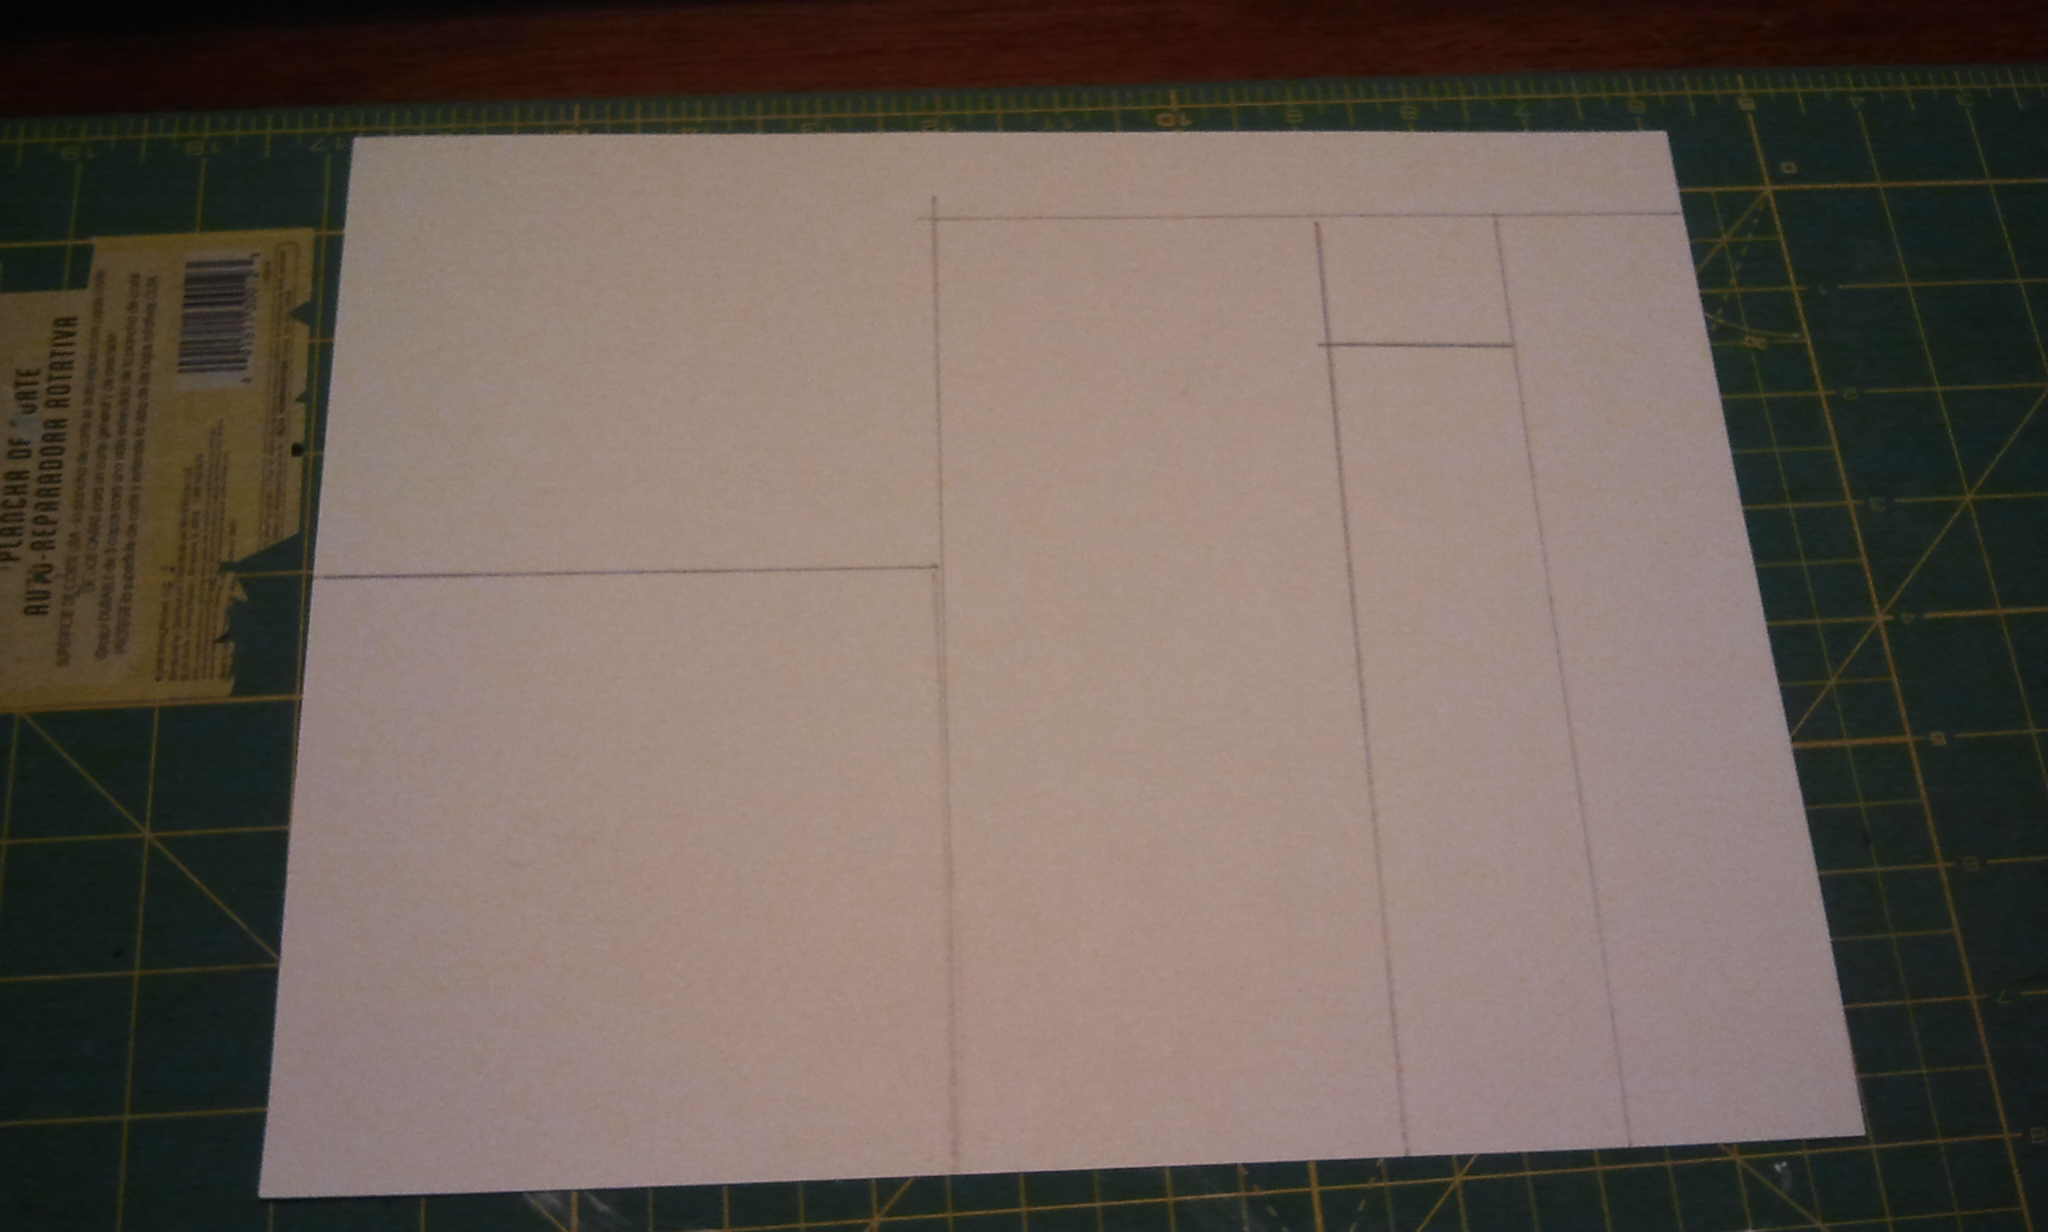
Patterning boxes on cardstock
5) Within the boarders of the box I just drew, I would freehand sketch the part I was trying to make. I am really bad at drawing so it took a few tries till I felt “eh, good enough.” I also made sure to cut out holes for the 200+ grommet holes that would need to be filled later.
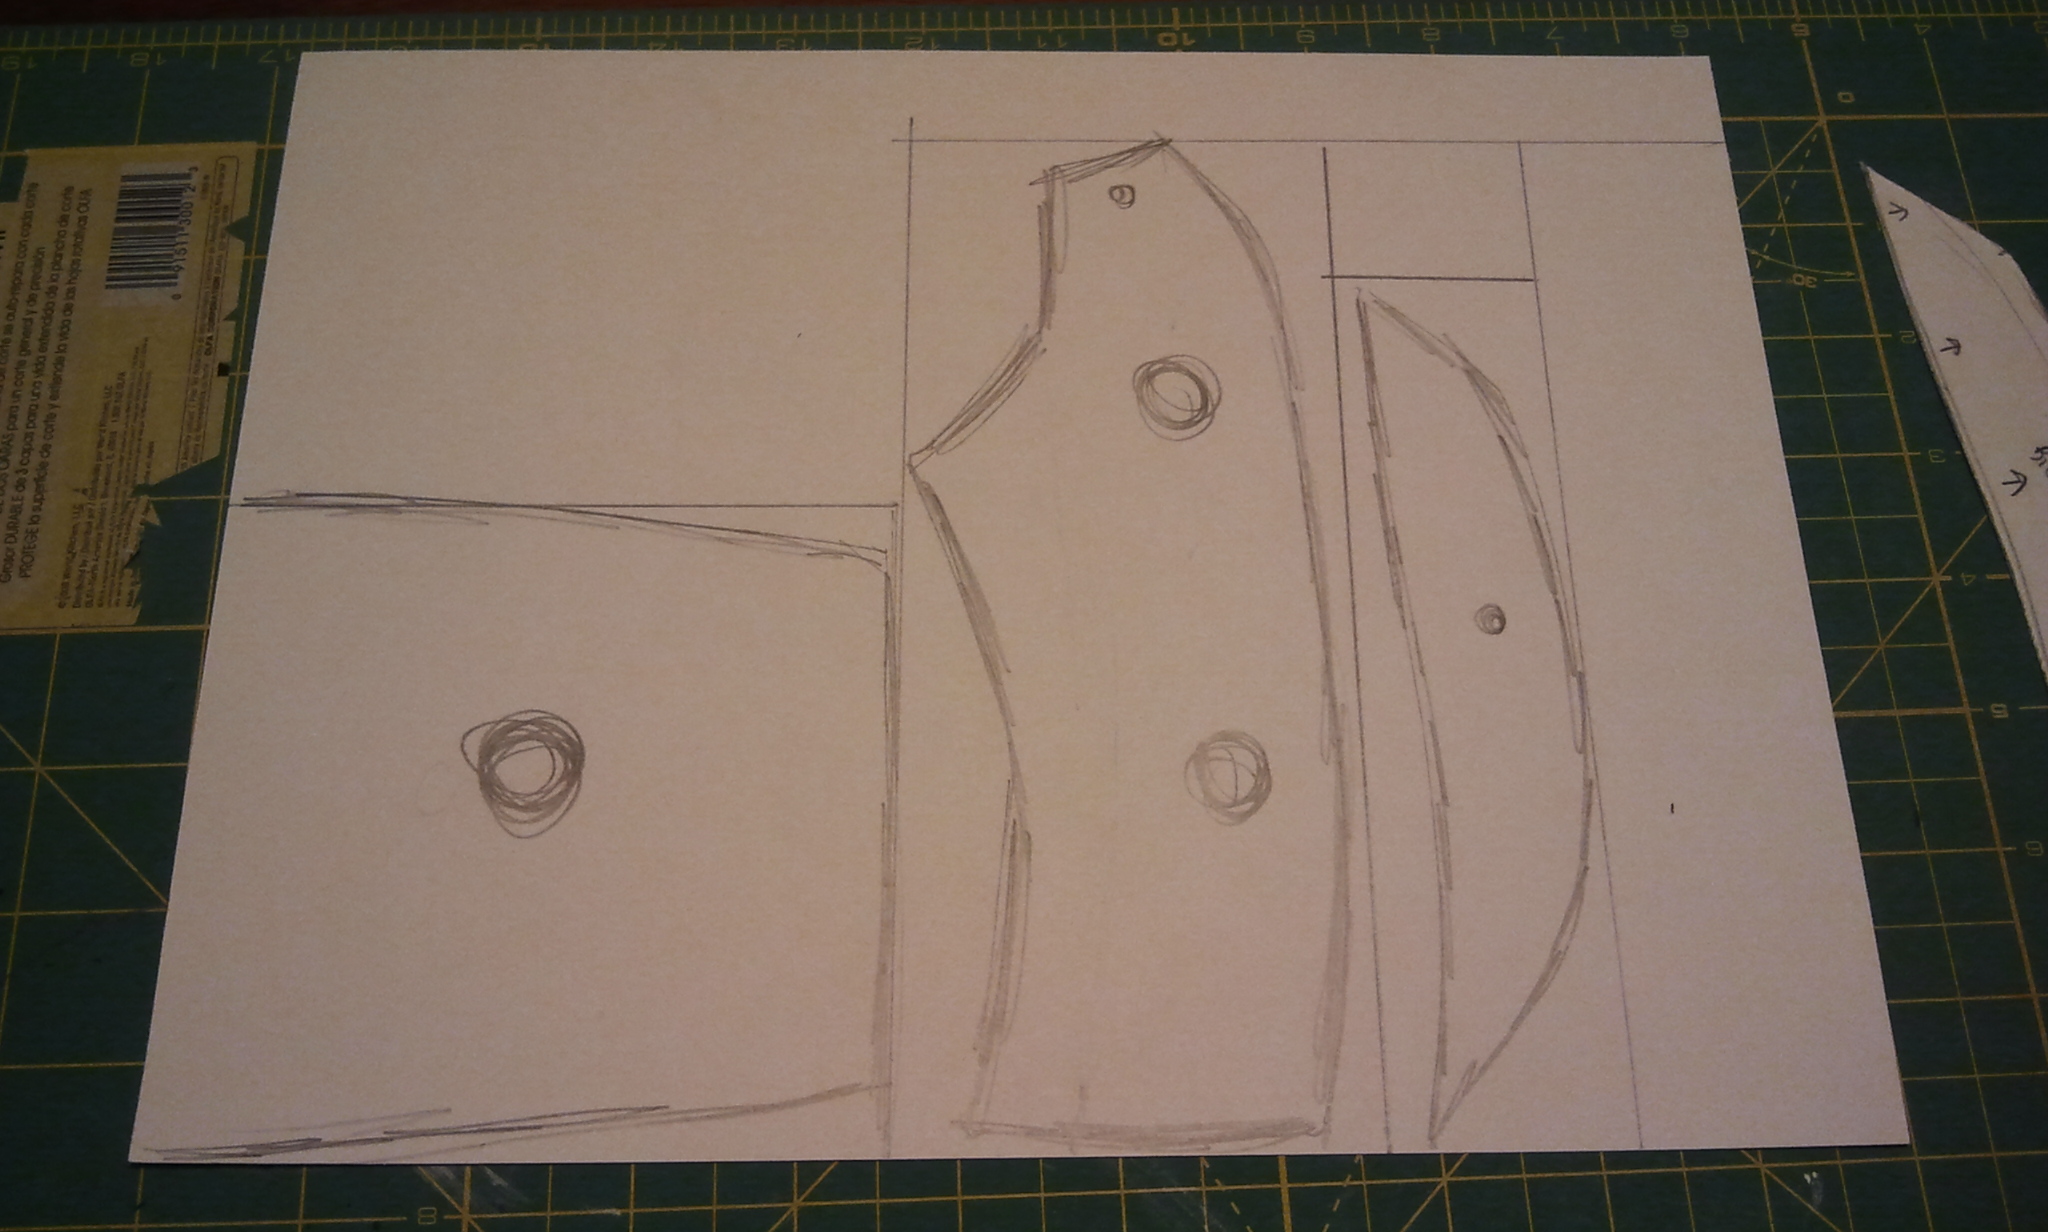
Freehanding bicep sections
6) I then cut out the pattern with an Xacto knife
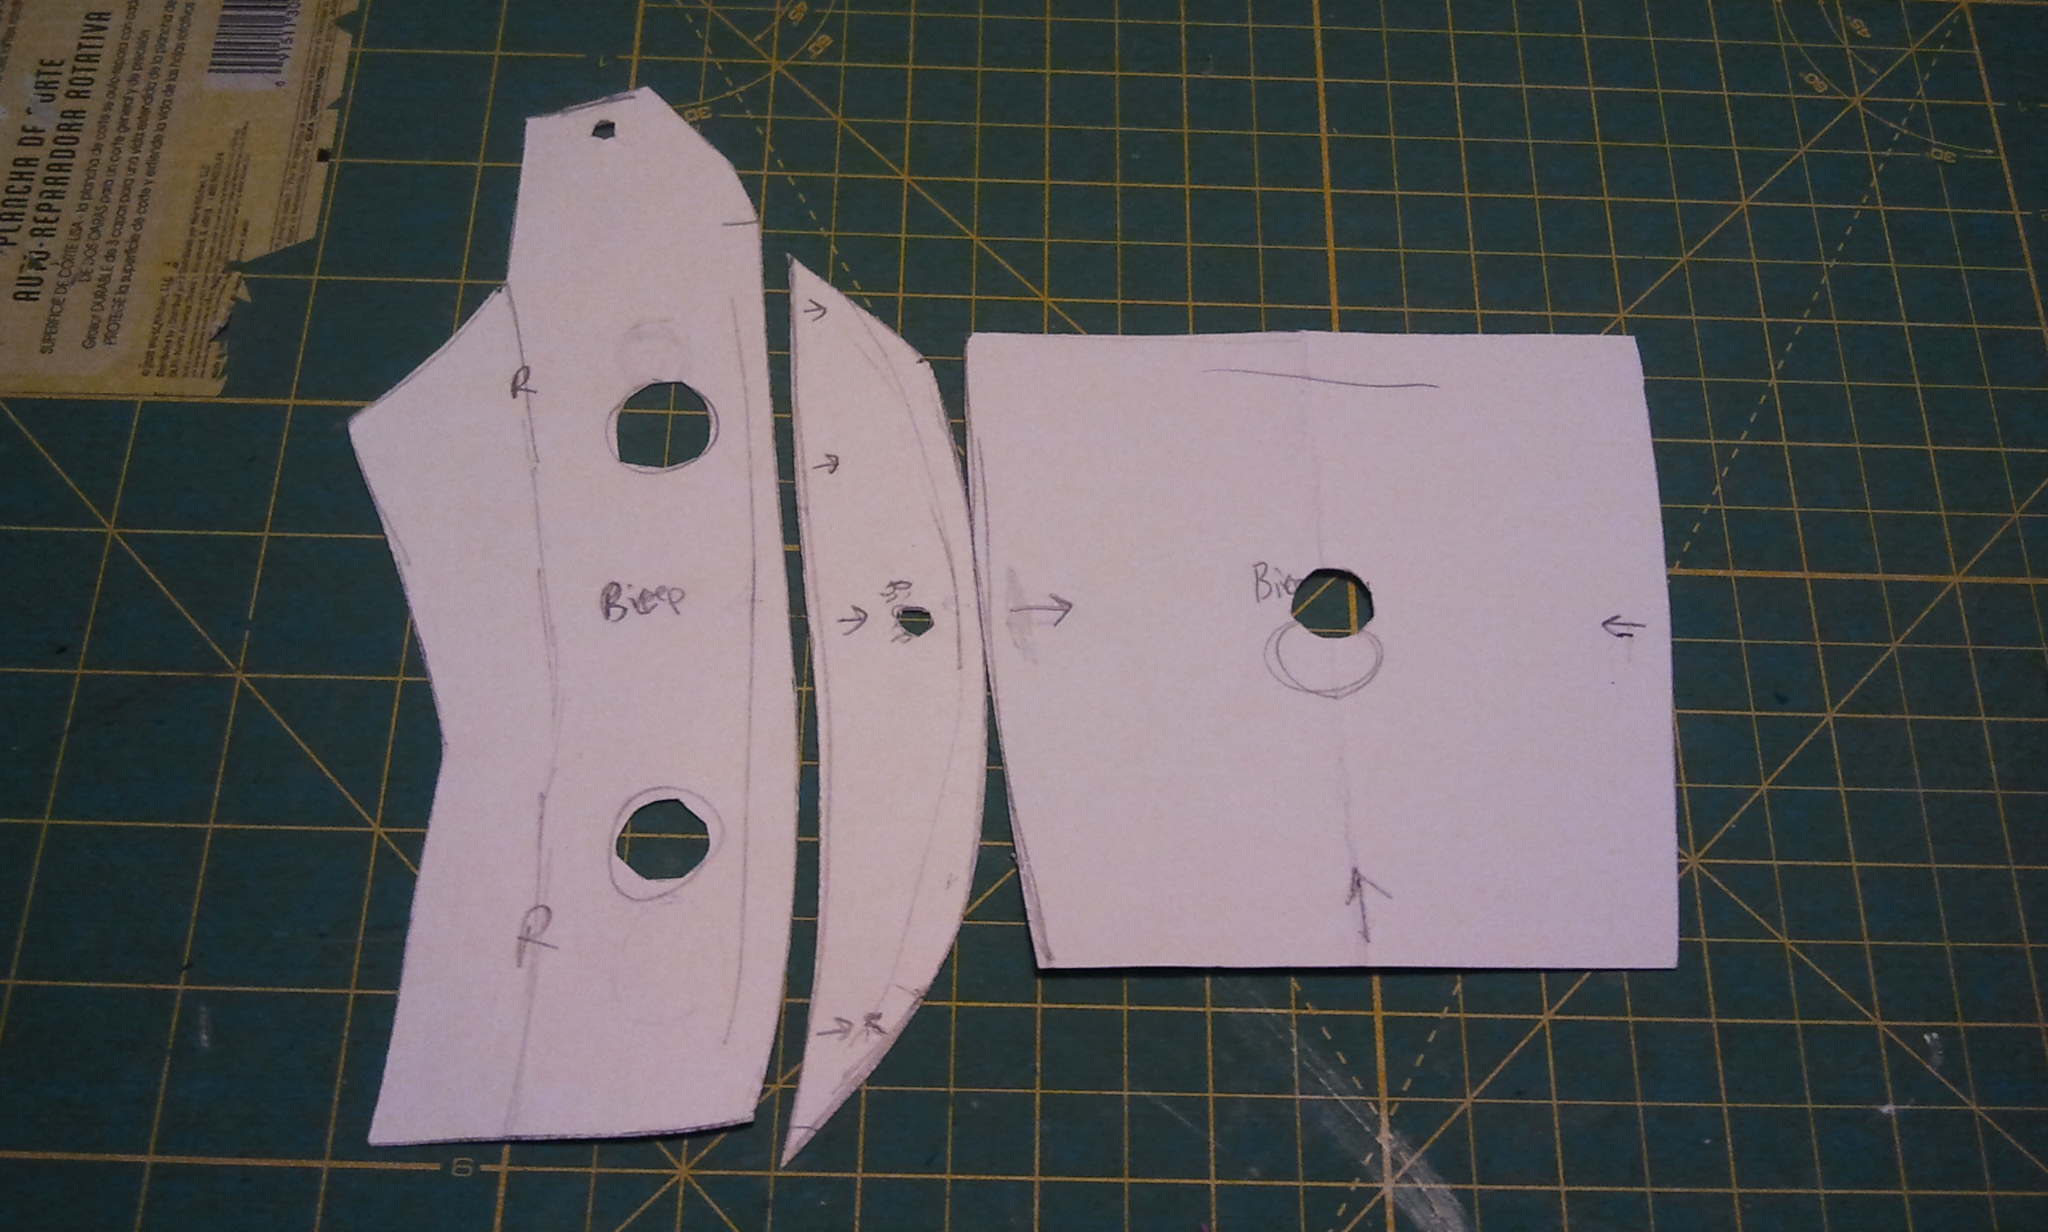
Bicep patterns cut
—
And that pretty much sums up how I patterned my armor pieces for Raiden. I used these same techniques for every section, including the props such as the sword and holster. By the way, here is the end result of the bicep piece.


Again, I want to reiterate patterning is a VERY IMPORTANT step in making your armor. Bad patterns will result in a bad end product. So, if you try these techniques and you are unhappy with how your pattern turned out, then redo it! No biggy! I assume you cosplay for fun just like me, so we’re not pros or anything! Hope this tutorial helps some of you out there and stay tuned for the full Raiden tutorial coming soon.


3 Comments
How to Cosplay Venom Snake (Metal Gear Solid V: The Phantom Pain) Tutorial - Otaku and Fit · August 28, 2014 at 9:51 pm
[…] How to Freehand Patterns for Cosplay Armor […]
Venom Snake Cosplay Arm Commission/Tutorial Photos (Metal Gear Solid V) - Otaku and Fit · January 29, 2015 at 8:16 pm
[…] How to Freehand Patterns for Cosplay Armor […]
Ludens (Kojima Productions Mascot) Cosplay Tutorial - OtakuAndFit.com · June 30, 2017 at 8:36 pm
[…] I free hand patterns (similar to what I did in my Raiden tutorial which you can read here) and created basically cardboard skeletons which I modified till I got the shape I wanted. […]